Using a digital multimeter (DMM) is essential for diagnosing electrical issues, measuring voltage, resistance, and current. Here’s a step-by-step guide:
Basic Functions of a Digital Multimeter
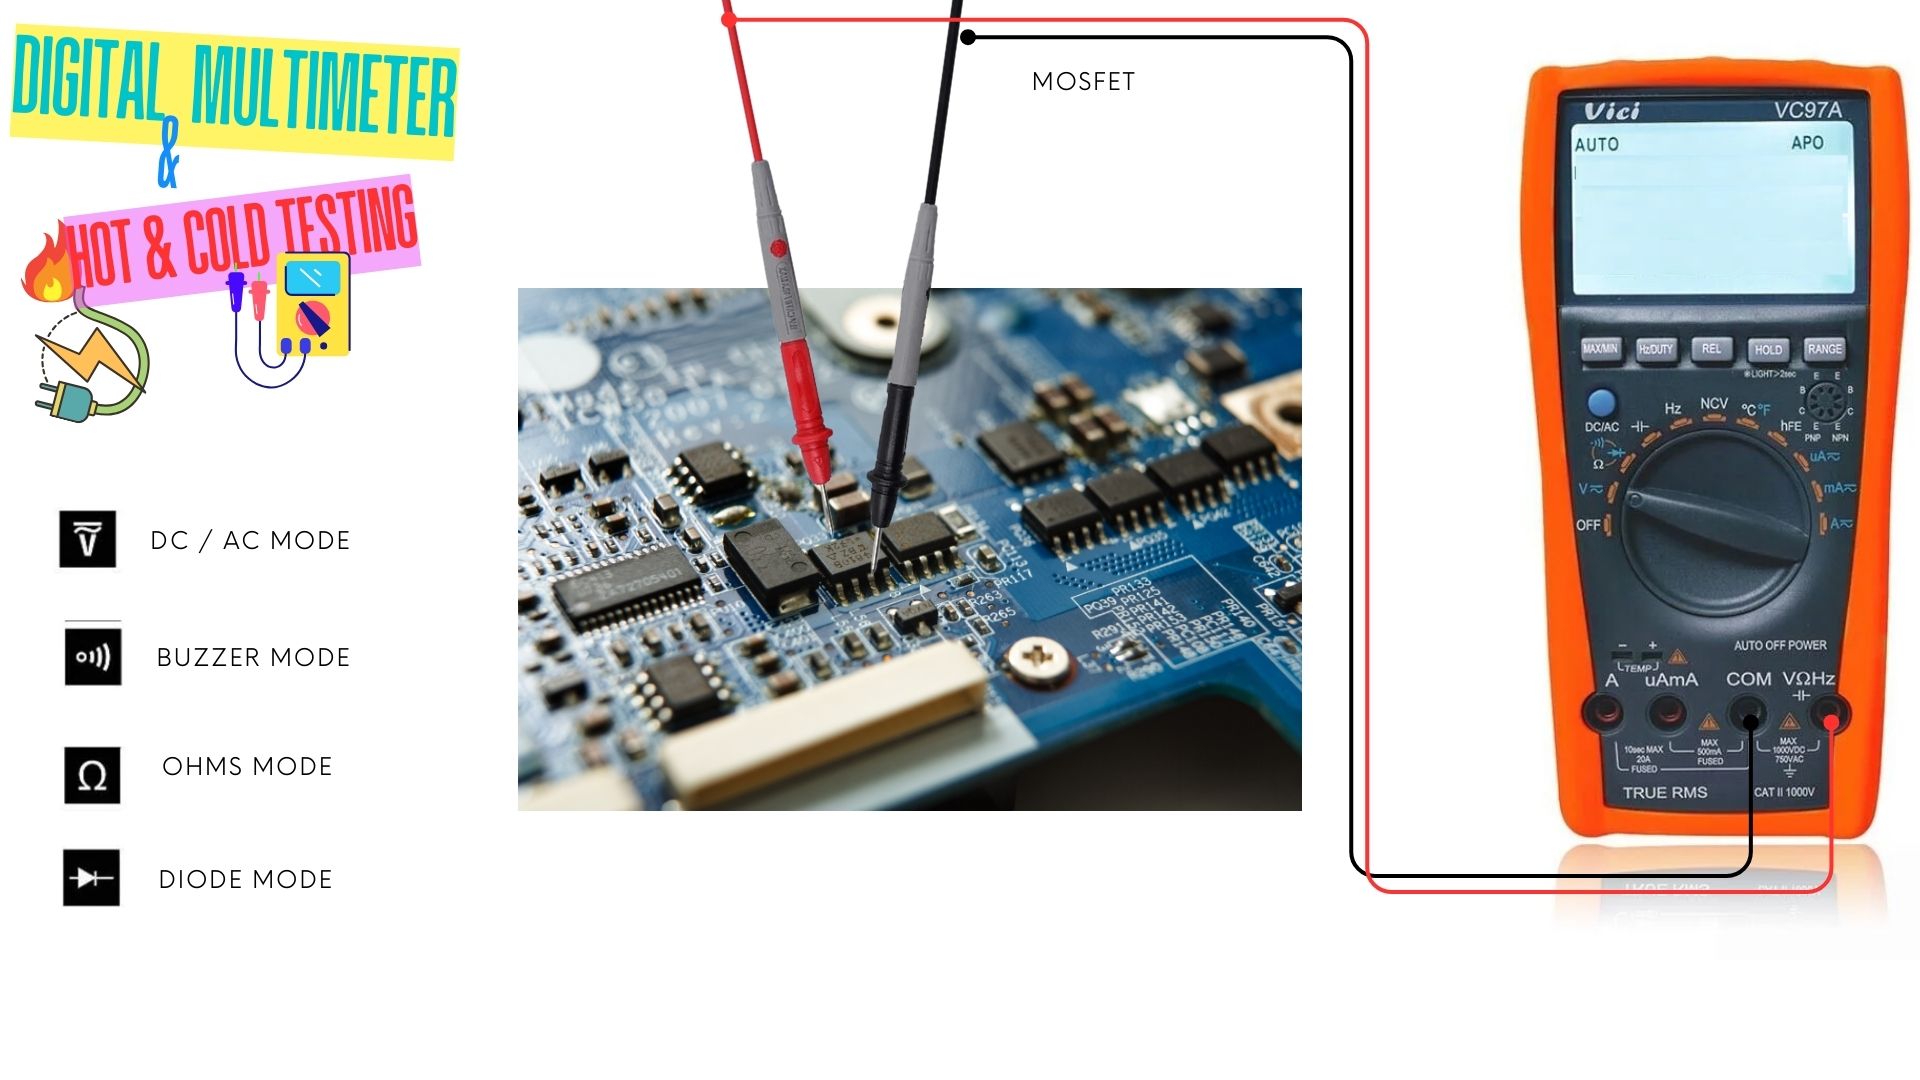
- Measuring Voltage (DC/AC)
- Set the dial to V (DC voltage) or V~ (AC voltage).
- Insert the black probe into the COM port and the red probe into the V port.
- Touch the probes to the circuit terminals (red to positive, black to negative).
- Read the voltage on the display.
- Measuring Resistance (Ω)
- Set the dial to Ω (ohms).
- Insert the probes into COM and VΩ ports.
- Touch the probes to both ends of the resistor.
- Read the resistance value.
- Measuring Current (A/mA)
- Set the dial to A or mA (depending on expected current).
- Insert the black probe into COM and the red probe into A/mA.
- Connect the probes in series with the circuit.
- Read the current value.
- Continuity Testing
- Set the dial to the continuity mode (usually a diode symbol).
- Insert probes into COM and VΩ.
- Touch the probes to both ends of a wire or connection.
- If the circuit is complete, the multimeter will beep.
- Diode Testing
- Set the dial to the diode mode.
- Insert probes into COM and VΩ.
- Touch the probes to the diode terminals.
- A working diode will show a voltage drop in one direction.
